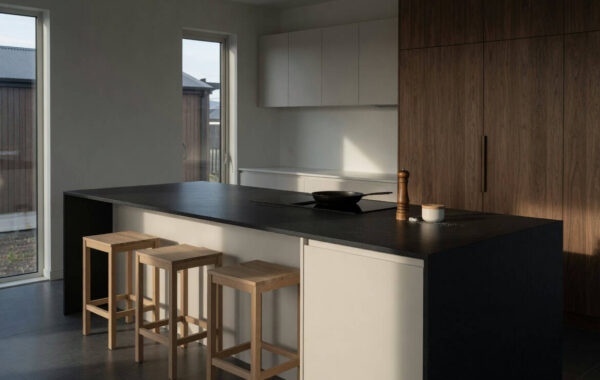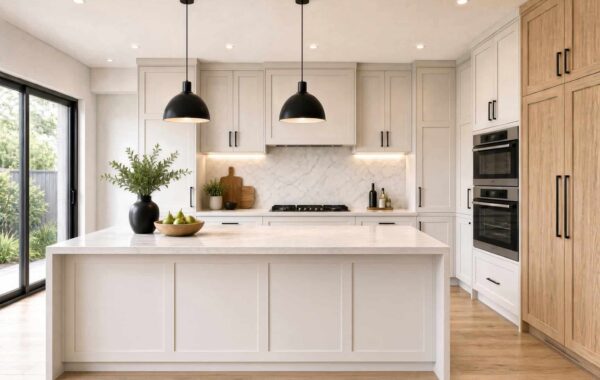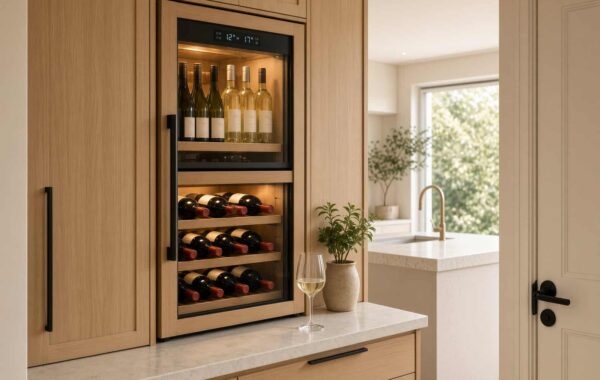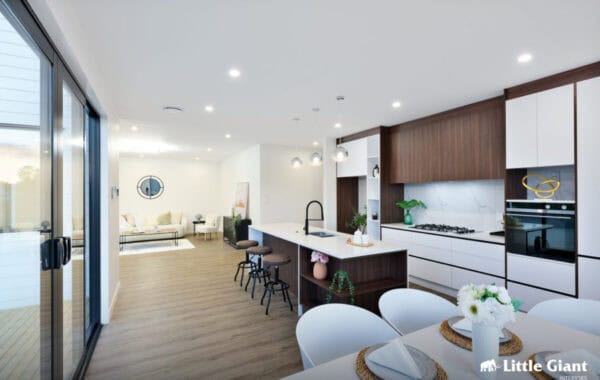


Quick answer: a scullery is a working back kitchen beside the main one, usually with its own sink, dishwasher and bench, where the washing-up and prep mess lives out of sight. In New Zealand it’s plumbed space, so it has to meet the Building Code’s rules for utensil washing and moisture, and its cabinetry needs wet-zone materials.
Open-plan living put the kitchen on show from the couch, the dining table and the front door. A scullery is how a lot of Auckland homeowners are taking some of that kitchen back out of view. The dishes, the chopping boards, the coffee machine and the toaster all go through a doorway or behind a run of doors, and the main kitchen stays clear for cooking and people. Sound familiar? That’s the problem a scullery solves.
Most articles on this stop at the photos. You get a pretty back room with open shelves and a brass tap, and nothing about what happens when water, steam and dishwashing land in it twice a day for twenty years. That’s where sculleries go wrong, and it’s the part this guide covers. We build scullery cabinetry in our Rosedale factory, so we’ve written it from the cabinetmaker’s side: what the Building Code says about a room where you wash dishes, what changes when you add a second sink, which board the bench can and can’t be made from, and how the doorway disappears when you’ve got guests.
Every rule and specification below comes from its source. The Building Code clauses are quoted from the regulations on legislation.govt.nz, and the material and hardware figures come from Laminex, Blum and Fisher & Paykel’s own New Zealand documents. Where something is our own judgement as cabinetmakers, we say so. Questions that belong to Auckland Council or a licensed plumber get pointed their way.
What Is a Scullery in a New Zealand Home?
A scullery is a second, smaller kitchen space next to the main one, built for the messy work. Häfele New Zealand describes it as a work area that sits separate from, but next to, the main kitchen, used to hide the mess of open-plan living. That’s a good working definition. The old English scullery was where pots were scrubbed. The modern Kiwi one does the same job, with a dishwasher and a decent extractor instead of a copper and a maid.
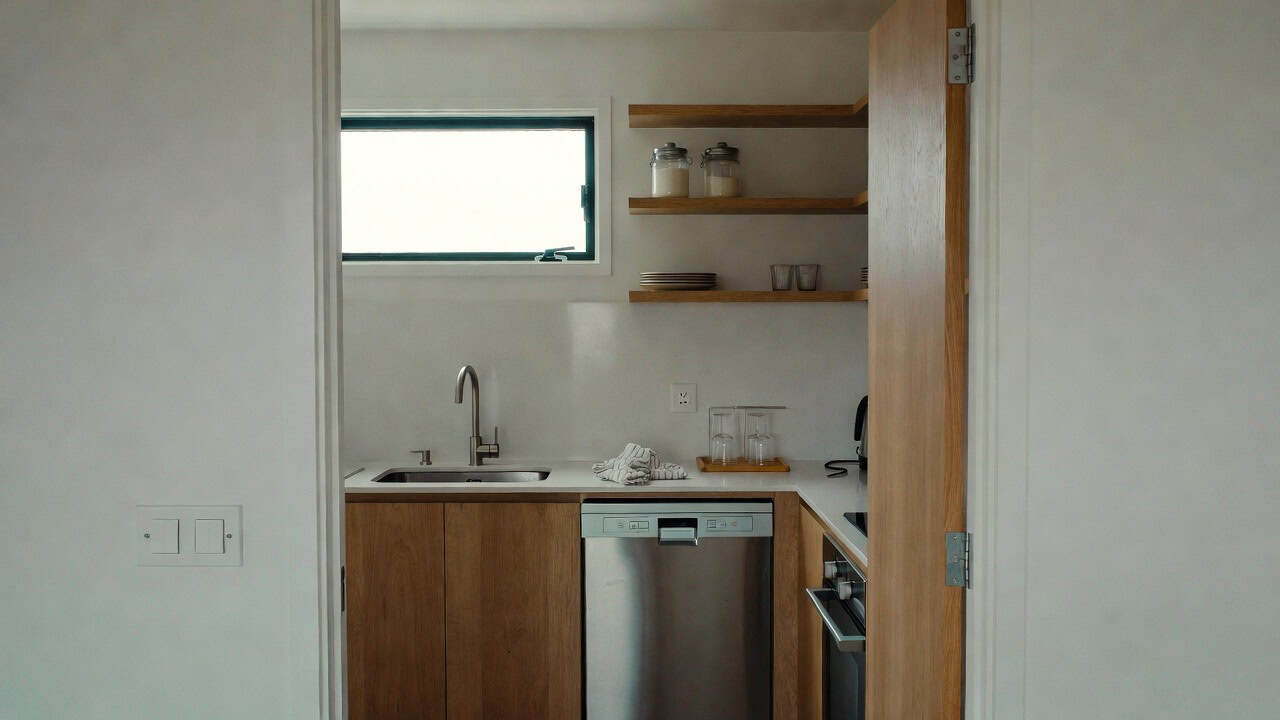
In everyday New Zealand use, “scullery” and “butler’s pantry” get swapped around a lot. We treat the difference as practical: if the room has running water and a waste pipe, it’s a scullery, and it gets designed like one. If it’s shelves, a bench and a few power points, it’s a pantry, and our guide to butler’s pantry ideas covers that version in depth, including the shelving depths and walk-in layouts.
The working test: water, waste and heat
Three things turn a storage room into a scullery. Water in, waste water out, and heat or steam from appliances. Each one brings its own requirements:
- A sink means plumbing, a waste connection and a cabinet that’ll live with the odd drip for decades.
- A dishwasher means another water and waste connection, steam every time the door opens, and a panel your cabinetmaker has to fit to tight tolerances.
- A cooktop, oven or steam oven means cooking fumes and moisture that have to go somewhere, and electrical or gas work behind the cabinetry.
A room with none of those is a pantry. A room with any of them is a scullery, and everything below applies.
Why sculleries keep turning up in new Auckland homes
Walk through a new build in Hobsonville or Flat Bush and the kitchen usually faces the living area across an island. When the kitchen is part of the lounge, every dirty pan is part of the lounge too. A back kitchen fixes that without walling the kitchen off again. The washing-up goes behind a door, the island stays clean for entertaining, and the main kitchen can carry the good finishes while the back room carries the hard-wearing ones.
Häfele’s New Zealand team also notes a shift towards working pantries that sit inside the main kitchen footprint and can be opened up or closed off when they’re not in use. In a renovation it’s often the more practical version, because it doesn’t need a whole extra room. In a Mt Eden villa or a 1970s Howick brick-and-tile, a “scullery” might be a 2.4m run behind a pair of pocket doors. No extra room required. We cover how those doors work further down.
Do you actually need one?
We’ll be upfront: a scullery isn’t for everyone. It adds plumbing, cabinetry and often a second appliance to your budget, and it takes floor area from somewhere else. Before anyone draws one, answer these honestly:
- Do you cook most nights, or mostly heat and serve? Heavy cooks get the most from a scullery.
- Do you entertain at home often enough that the mess bothers you?
- Is your main kitchen visible from the spaces you live in?
- Have you got somewhere to take the space from: a laundry, a hallway, a back corner of the kitchen, a spare bit of garage wall?
- Would a run of tall cabinets with doors (an appliance cupboard) solve most of the problem for less?
💡 Design tip: If your answers point to “hide the toaster and the coffee machine”, a tall appliance cupboard with pocket doors is often the cheaper answer. If they point to “hide the dishes”, you need water back there.
If you’ve landed on yes, the next question is the one most people skip: what the plumbing and ventilation have to do.
Scullery Plumbing, Ventilation and the Building Code
This is the section that gets missed. The moment a scullery has a sink, it’s a place where you wash dishes, and the New Zealand Building Code has clauses written for exactly that. None of the scullery pages ranking in New Zealand right now mention them, which is odd, because they shape the room more than any shelf layout does.
What the Building Code asks of a room where you wash dishes
Clause G3 of the Building Code covers food preparation. Under G3.3.1(b), food preparation facilities in housing must include “means for food rinsing, utensil washing and waste water disposal.” In most homes the main kitchen already ticks that box. A scullery doesn’t replace that duty, but its sink and waste are doing the same job and get built to the same standard.
Clause G4 covers ventilation, and it’s the one that matters most here. G4.3.3 says buildings must have a means of collecting or otherwise removing, from the spaces where they’re generated, both “cooking fumes and odours” and “moisture from laundering, utensil washing, bathing and showering.” Utensil washing is named in the Code. A scullery is, by design, the room where it happens.
So a room with a sink and dishwasher generates moisture, and the Code expects that moisture to be dealt with where it’s made. In practice that means planning extraction or an opening window for the scullery itself. The rangehood in the main kitchen won’t reach around the corner. How that gets met on your job (fan size, ducting route, an opening window) is a design question for your builder or designer, and it should be settled before the cabinetry is drawn, because ducting has to go through or above the cabinets.
“A scullery with no extraction is a steam room with doors on it. Every dishwasher cycle and every pot of pasta sends moisture into a small, closed space, and the cabinetry is the first thing to tell you about it. Plan where the air goes before you choose a single door colour.”
— Little Giant Interiors Design Team
A second sink is a sanitary fixture. A dishwasher isn’t.
This sounds like legal hair-splitting, but it decides whether your plumbing work sits inside an exemption. The Building Code’s definitions describe a sanitary fixture as “any fixture which is intended to be used for sanitation”, and sanitation covers washing. A sink is a sanitary fixture. The same definitions describe a sanitary appliance as an appliance used for sanitation that isn’t a fixture, and they name “machines for washing dishes and clothes” as examples. A dishwasher is a sanitary appliance.
The distinction matters because of the consent exemptions. Schedule 1 of the Building Act 2004 lists building work that doesn’t need a building consent, and clause 35 covers alterations to existing sanitary plumbing only where “the total number of sanitary fixtures in the building is not increased by the alteration.” Add a second sink in a new scullery and you’ve increased the number of sanitary fixtures. That plumbing work falls outside the clause 35 exemption.
Falling outside one exemption doesn’t automatically mean you need a full consent for the whole renovation. Auckland Council says that where building work does need consent but is minor or low risk, it can consider granting an exemption, and it explains how to request one. Whether your job qualifies is the council’s call, made on your actual plans. What you shouldn’t do is assume a second sink is “just plumbing” and find out at sale time that the work isn’t on the property file.
Important note: We build cabinetry. Consent advice belongs to someone else. Whether your scullery’s plumbing, drainage, electrical or gas work needs a building consent or an exemption is for Auckland Council, your licensed plumber or your Licensed Building Practitioner to confirm. Ask them before the cabinetry is drawn.
Who’s allowed to do the work
Even where work is exempt from consent, it isn’t exempt from being done properly. Part 2 of Schedule 1 is headed “Sanitary plumbing and drainlaying carried out by person authorised under Plumbers, Gasfitters, and Drainlayers Act 2006.” The exemptions for repairing, replacing and altering plumbing all sit under that heading. The plumbing in your scullery needs an authorised plumber, and any drain changes need an authorised drainlayer.
You can check a tradesperson yourself. The Plumbers, Gasfitters, and Drainlayers Board keeps a public register that shows a practitioner’s registration, licence history, any conditions and any recent disciplinary decisions. It takes two minutes on the PGDB register search, and it’s worth doing before anyone cuts into a wall.
Where the cabinetmaker fits in
We build and install the cabinetry. The plumber connects the sink and dishwasher, the electrician wires the appliances and any extraction, and the cabinetry has to leave room for all of it. On a scullery that means service voids behind the sink cabinet, cut-outs in the right places for waste and supply lines, and an access panel where pipes or a fan duct run behind fixed panels. Get those positions agreed with the plumber at the design stage and the install goes quietly. Get them wrong and someone’s cutting a new hole in a finished carcass on installation day.
With the services sorted, the next decision is the one that decides how the scullery looks in ten years: what the cabinetry is made of.
Scullery Cabinetry That Survives Water, Steam and Daily Use
This room works harder than the kitchen beside it. It takes the wet work, the dirty dishes and the dishwasher steam, so its benches and carcasses need to be specified for water first and looks second. Manufacturers tell you exactly where their products belong. It’s written in the data sheet, which is the document almost nobody opens.
Why the bench around the sink can’t be Melteca
Melteca is the melamine board most New Zealand cabinetry is built from, and we use a lot of it. Laminex’s own Melteca Technical Data Sheet says plainly: “Do not use Melteca in constant wear situations such as sink bench tops.” A scullery sink bench is the definition of constant wear. It’s wet, it’s scrubbed, and it takes pots and plates all day.
The same data sheet adds that “the Melteca substrate must not come in contact with any liquid”, because failing to keep it dry affects the panel’s performance. That’s the line that should shape every scullery: Melteca is excellent for carcasses, shelves and doors, and wrong for the horizontal surface around a sink. The bench needs a material made for water: engineered stone, a solid surface, compact laminate or stainless steel, chosen to match the main kitchen or deliberately contrast with it.
💡 Design tip: Changing material at the wet zone also changes how the scullery looks. A hard, plain bench under softer cabinetry reads as deliberate, and it means the expensive surface only goes where water actually lands.
Carcass substrate, edges and the cut-outs nobody sees
The board inside a melamine panel matters more in a scullery than anywhere else in the house. The Melteca data sheet lists the substrates it’s laminated to: Lakepine MDF, Lakepine MRZero, Superfine Particleboard and Superfine MR Particleboard. The MR options are the moisture-resistant grades, and they’re what we’d specify for the sink cabinet and the cabinets either side of the dishwasher.
Moisture-resistant isn’t waterproof, and the data sheet is clear about the weak points. It says any exposed substrate must be sealed before service. The exposed substrate hides in places you never look: the cut-out for the waste pipe, the hole for the tap feed, the back edge where the panel meets the wall. Each one needs sealing before the sink goes in.
Edges are the other failure point. Every panel we make runs through a German laser edge-bander in our Rosedale factory, which bonds the edge tape to the board without a visible glue line. That clean seam matters in a wet room, because a lifted edge on a sink cabinet is where water gets into the board, and once particleboard swells it doesn’t go back.
The sink cabinet: use the space around the trap
A sink cabinet is usually the worst storage in any kitchen. You get a trap, two supply lines, a bottle of dish soap and a lot of wasted air. Blum’s New Zealand sink cabinet solution uses a U-shaped pull-out that wraps the space either side of the sink, and Blum recommends it for cabinet widths of 900mm or more. It runs on the same box systems (LEGRABOX, MERIVOBOX or TANDEMBOX) as the rest of the drawers, so the sink cabinet opens like every other drawer in the room.
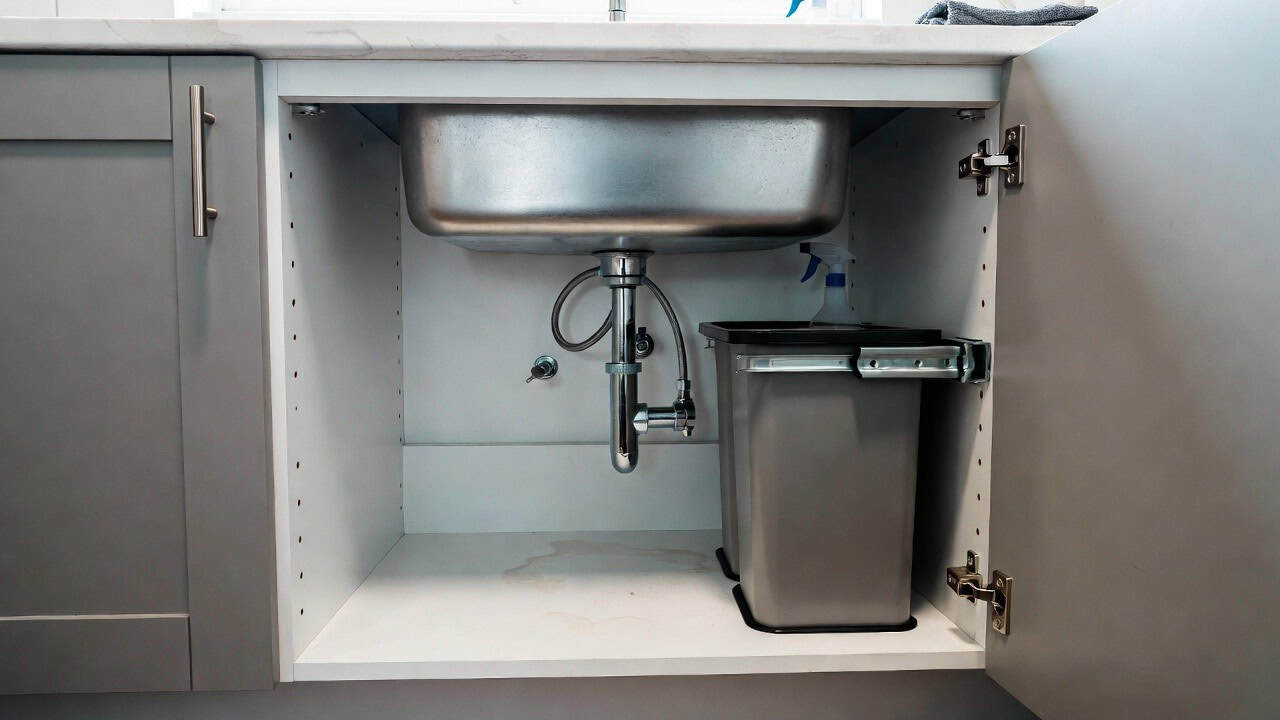
That 900mm figure is worth knowing before the layout is fixed. If your scullery sink sits in a 600mm cabinet, a U-shaped pull-out isn’t an option, and you’re back to a door and a shelf. Where the sink cabinet holds the cleaning gear, the bin liners and the dishwasher tablets, it’s often worth widening the cabinet to make room for the drawer.
Integrating a DishDrawer or dishwasher behind matching fronts
Most sculleries we build have a dishwasher, and most clients want it hidden behind a cabinet front that matches the rest. Fisher & Paykel’s New Zealand integrated panel guide for its DishDrawer models works through panel sizes from the opening, and its worked example starts with a 600mm opening and takes off at least 2.5mm a side to arrive at a 595mm panel. Those few millimetres are the gap between a front that looks like part of the cabinetry and one that rubs.
The guide also says installation must comply with your local building and electricity regulations. That’s why the cabinetmaker, the plumber and the electrician need the same appliance model number on the same drawing before anything is cut. Panel thickness, handle position and the toe-kick height all come from the appliance documentation, and we work from the manufacturer’s guide for the exact model you’ve chosen.
💡 Design tip: Choose your dishwasher, sink and tap before the final cabinetry drawing. Swapping appliances after the panels are cut almost always means remaking fronts.
Once the scullery is built to cope with water, the fun part starts: making the doorway disappear.
Hiding a Scullery: Pocket Doors, Inward Doors and Open Entries
The whole point is that guests can’t see it. The way you close it off decides whether it reads as part of the kitchen joinery or as a door to a back room. There are three main approaches, and each suits a different house.
Pocket doors that slide into the cabinetry
Pocket systems let cabinet doors swing open and then slide back into a pocket alongside the cabinet, so they’re out of the way while you work. Blum’s REVEGO system is built for this, and its New Zealand product page publishes the dimensions. A REVEGO duo (a pair of doors) needs an installation width of 900mm to 1,500mm, a height of 1,155mm to 3,012mm and a depth from 573mm, with a 150mm-wide pocket each side. Fronts can be 18mm to 26mm thick and up to 35kg each.
Those numbers tell you a lot about planning. Every pocket costs you 100mm to 150mm of width, so a 1.5m opening needs 1.8m of wall once the pockets are added. Blum also notes REVEGO can be built full height or as a half-height unit sitting on a benchtop, which suits an appliance and coffee station inside the main kitchen. And because the doors open with TIP-ON, there are no handles to break up a run of flat fronts.
This is the “working pantry inside the kitchen” version. Close the doors and you see a wall of cabinetry; open them and the scullery bench, sink and shelves are right there. It suits renovations where you can’t add a room, like a long kitchen in a Grey Lynn villa or a townhouse in Hobsonville with a back wall to spare.
Cabinet doors that open into the scullery
The second trick is a door that looks like a tall cupboard but opens into a walk-through space. Blum shows how this works with standard CLIP top BLUMOTION hinges: swap the hinge and mounting-plate positions and the cabinet door opens inwards, into the room behind it. Blum’s own example is a hidden pantry behind what looks like a kitchen cupboard.
From the kitchen side, the scullery entrance is a matching tall front in line with the pantry or oven tower. Nobody knows there’s a room there until you walk through it. It does need a proper doorway behind the front, and the door has to suit the height and weight limits of the hinges your cabinetmaker specifies.
Cavity sliders and open entries
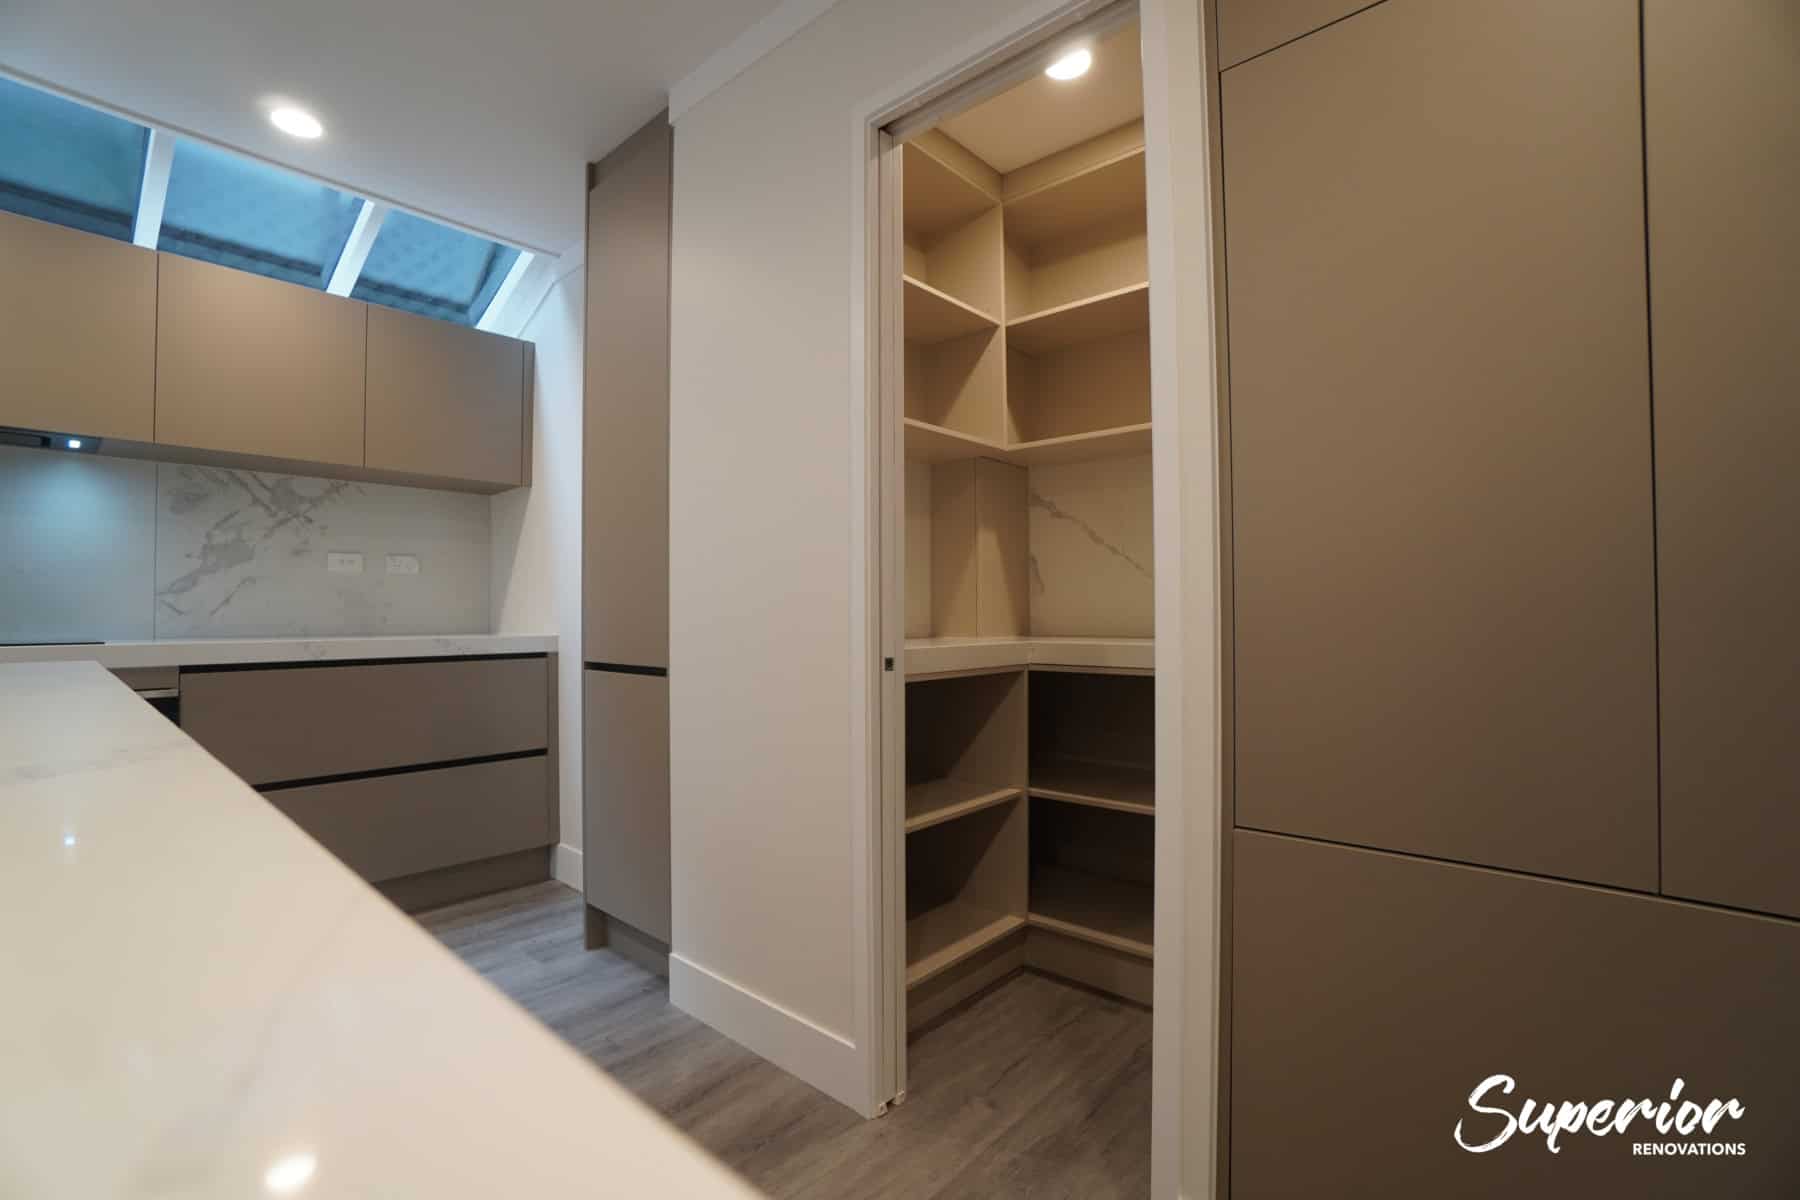
Not every scullery needs a disguise. A cavity slider set into the wall is the simplest way to close off a separate scullery room, and it doesn’t take swing space in either room. An open entry with no door at all works too, if the opening is placed so you don’t look straight at the sink from the lounge. Offsetting the doorway to one side of the scullery, so the line of sight lands on a tall cabinet or shelves, often does more than any door.
How the opening reads from the dining table
This is the design question that matters most and gets the least thought. Stand where your guests will sit and look at the scullery entrance: what you see from there is what the scullery has to get right. A few things make the biggest difference:
- Carry the main kitchen’s fronts across the entrance. Matching door colour, handle (or no handle) and shadow-line spacing make pocket or inward doors read as joinery.
- Line up the heights. The scullery opening should align with the tops of the tall cabinets beside it, so the run reads as one piece.
- Light it in layers, and match the colour. Under-shelf strip lighting gives task light on the bench, and a single ceiling light handles the rest. Keep the colour temperature the same as the main kitchen: warm 2700K to 3000K strips behind pocket doors in a warm-lit kitchen, because a cool 4000K glow spilling out of an open scullery looks like a mistake.
- Let the scullery be plainer. The main kitchen can carry the feature finishes. The scullery can use a simpler, harder-wearing door that matches in colour, which is where you save money without anyone noticing.
Once you know how it’ll close off, you can size the space properly.
Scullery Layout and Size: Making Every Metre Work
It doesn’t need to be big. It needs a bench you can work at, a walkway you can stand in while a drawer is open, and the sink, dishwasher and bin close together. Most of the ones that disappoint people are either too narrow to use or too spread out to work in.
The two numbers that decide whether it works
In our practice, two dimensions do most of the work. A bench depth of 600mm is the working minimum, because it matches the standard kitchen bench and it’s what a sink and benchtop appliances need. Go shallower and the bench turns into a shelf you can’t chop on.
The walkway is the other. Around a metre between opposite runs lets you open a lower drawer or the dishwasher and still stand beside it. Narrower than that, and one open drawer blocks the room. We explain both numbers, along with shelf depths and spacing, in our guide to butler’s pantry and walk-in pantry sizes, and they apply just as much to a scullery.
Single-wall, galley or L-shaped
The shape usually follows the space you’ve got. A single-wall scullery (one run of bench with shelves above) is the most common in renovations, because it fits behind pocket doors or along one side of a hallway. A galley scullery, with benches or tall storage on both sides, holds more but needs that metre of walkway. An L-shape lets you put the sink on one wall and the dishwasher and bin around the corner, which keeps the dirty work tight.
Whatever the shape, put the sink, dishwasher and bin side by side. Scraping, rinsing and loading is one job, and it should happen in one step. If the dishwasher is on the far wall from the sink, every plate drips across the floor on its way.
Combining a scullery with the laundry
In plenty of Auckland homes the only room next to the kitchen with plumbing already in it is the laundry. Combining the two puts both wet zones in one space, uses the existing drainage and keeps all the noisy machines behind one door. It works best with a clear split: the laundry machines and tub at one end, the scullery bench and dishwasher at the other, and a bench long enough that dirty washing and dirty dishes never share a surface.
If your scullery is going to share space with the washing machine, our team designs laundry cabinetry for wet, busy rooms like this one to the same material rules as above: moisture-resistant carcasses, sealed cut-outs and a proper wet-zone bench.
Shelves, power and light
Open shelves suit a scullery because you can see everything and grab it fast. Keep them shallow, roughly 300mm to 350mm deep, so every jar sits in one row. Under the bench, drawers beat doors for pots and serving dishes, for the same reason they do in the main kitchen.
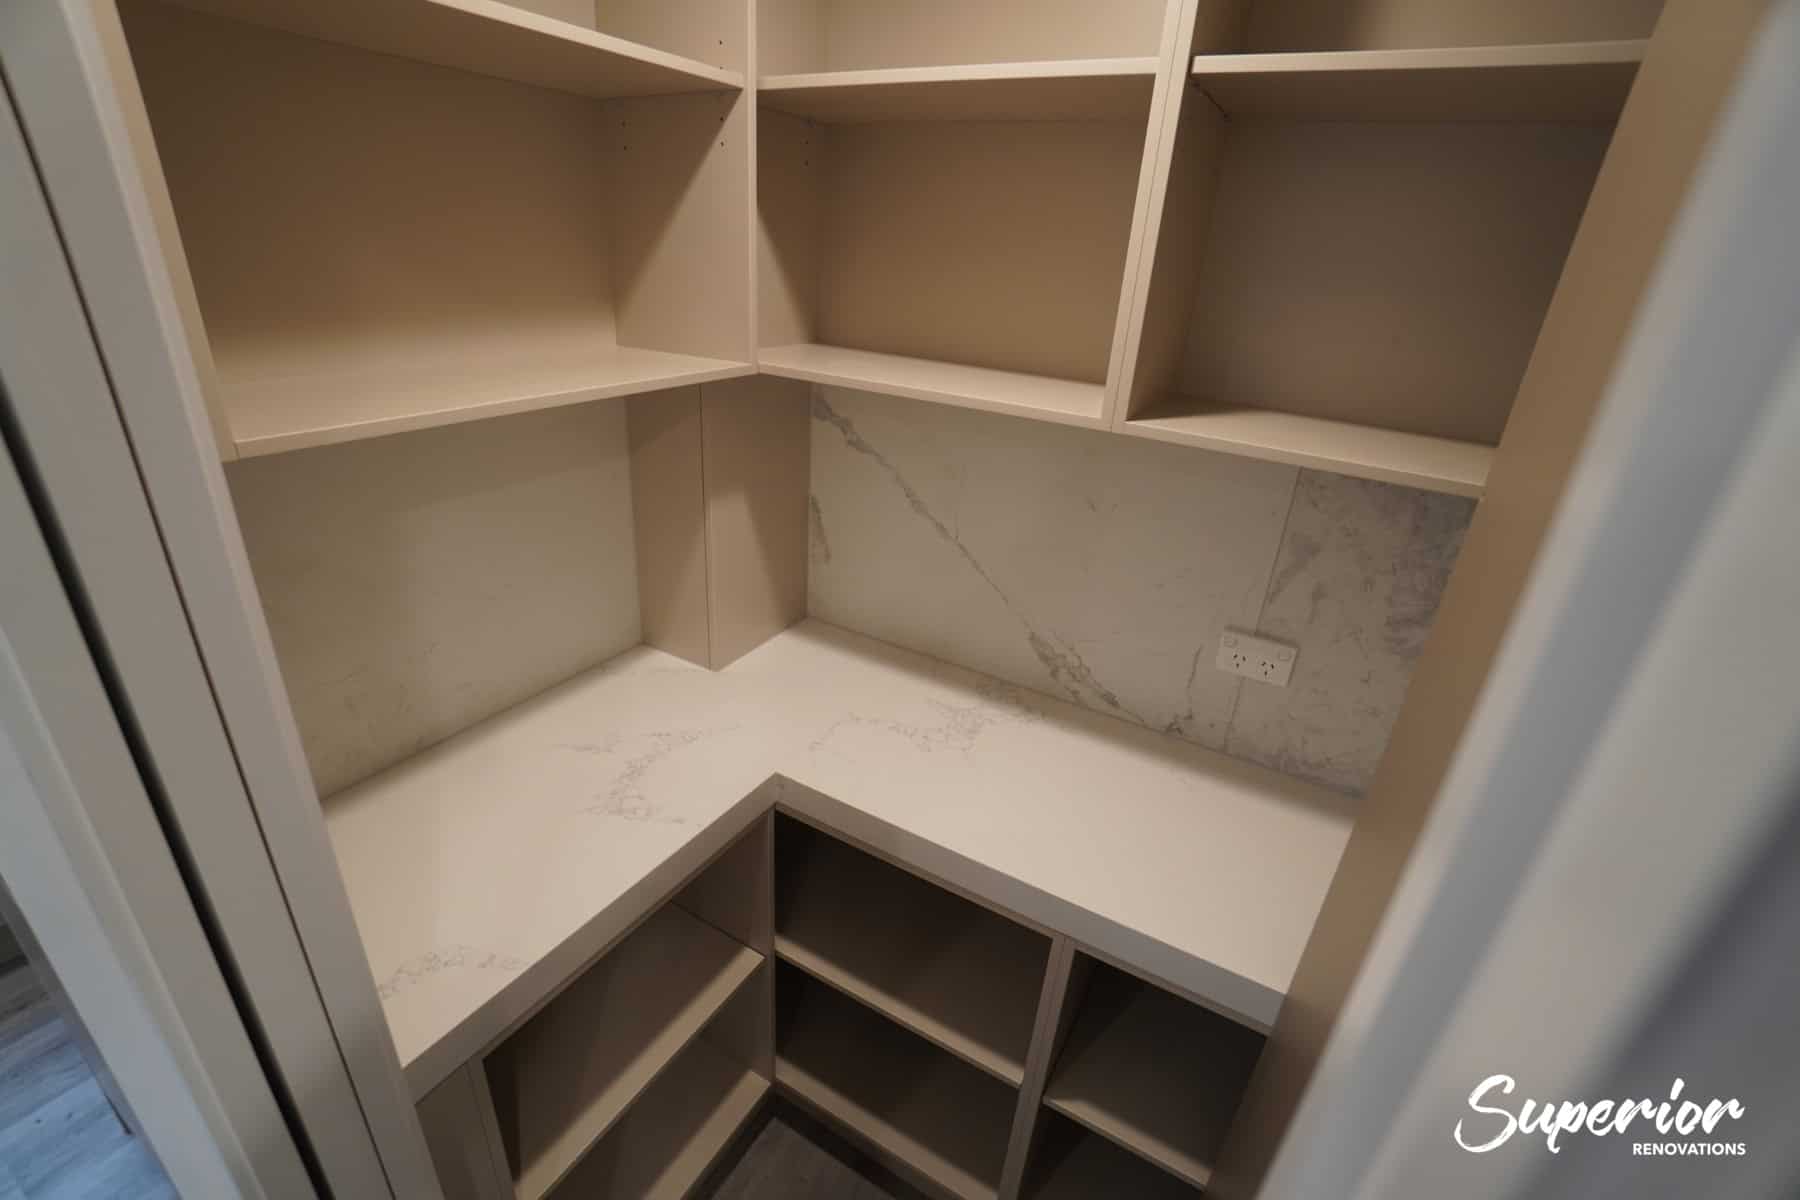
Plan the power while the drawings are still easy to change. The back kitchen usually ends up holding the kettle, toaster, coffee machine and sometimes a microwave, so put the outlets where those appliances will actually sit. Your electrician confirms the circuits; our job is to leave room for them in the cabinetry and to run lighting channels before the panels are made.
💡 Design tip: Draw the scullery with every appliance you own in it, at its real size. The coffee machine that’s 450mm tall won’t fit under a shelf set at 400mm, and that’s an easy fix on paper and an annoying one on site.
With the layout settled, you can work out what it does to the budget.
What a Scullery Adds to Your Kitchen Cabinetry Cost
We can’t give you a single scullery price, because a scullery is a set of choices. Two people asking for one can mean very different rooms. What we can show is our published pricing, and what moves the number.
Our published cabinetry price bands
Our kitchen cabinet cost guide sets out typical Auckland ranges for kitchen cabinetry supply and installation, excluding benchtops and appliances. Mid-range custom cabinetry runs $15,000–$24,000, upper mid to premium $25,000–$35,000 and high-end bespoke $35,000–$55,000+, and most Auckland family kitchens land in the $15,000–$28,000 range for cabinetry alone.
| Cabinetry tier | Typical Auckland range (supply + install, excluding benchtop and appliances) |
|---|---|
| Budget / Flat-pack modular | $8,000–$14,000 |
| Mid-range custom | $15,000–$24,000 |
| Upper mid / premium | $25,000–$35,000 |
| High-end / bespoke | $35,000–$55,000+ |
Those ranges are for the cabinetry. The scullery’s second sink, plumbing, extraction, electrical work and any consent costs sit on top, and they come from your plumber, electrician and builder. Ask for those figures early, because on a small scullery they can be a meaningful share of the room’s total.
What moves the scullery number
- Concealment hardware. A pocket system or inward-opening entrance costs more than a plain door, and pockets add cabinet width.
- The wet-zone bench. Stone, solid surface or stainless around the sink is a separate line from the cabinetry.
- A second appliance. A dishwasher in the scullery means an integrated panel, and sometimes a second dishwasher if you keep one in the main kitchen too.
- Tall storage. Floor-to-ceiling cabinets and shelves add panels and hardware quickly.
- Drawers versus shelves. Every drawer box and runner set adds cost over a fixed shelf, and in a scullery they’re usually worth it.
- Matching the main kitchen. Carrying premium fronts into the scullery costs more than using a plainer door in a matching colour.
For a figure on your own layout, the quickest route is our calculator, and then a measure.
Timing: it’s made to order
Custom cabinetry isn’t sitting on a shelf. Every panel is cut to your drawings after the design and quote are signed off, so the programme depends on design decisions being made early. The single biggest cause of delay we see is a late appliance change, because it can mean redrawing panels. When you accept a quote, ask for the manufacturing and installation dates in writing, and line your plumber and electrician up against them.
How We Design and Build a Scullery at Little Giant Interiors
We design, manufacture and install from our 700m² factory in Rosedale on the North Shore. It runs through the same six steps as any kitchen we build: consultation, estimate, custom design, materials and manufacturing, installation, and handover. You can see the full sequence on our page explaining how we work with you, but here’s how it plays out for a scullery.
Consultation and the services conversation
One of our designers visits your home and measures up. For a scullery, the first conversation is about water, waste and air: where the existing plumbing is, where extraction could run, and which wall you’re taking the space from. We’ll tell you where we think the consent questions sit and suggest you confirm them with the council or your LBP before the drawings are final.
A 3D design you can stand in
You get a free preliminary 3D design after the consultation. It’s the best way to test the sightline from your dining table to the scullery entrance before anything is made. We model the pocket doors open and shut, the dishwasher panel, and the shelves with your real appliances on them.
Fixed price, then made in Rosedale
Once the design, materials and hardware are chosen, we cost it to a fixed price. The cabinetry is then cut on CNC machines and edged on our German laser edge-bander, which is where those sealed, clean edges for the wet zone come from. Everything is built to the measured room, so the scullery runs fit wall to wall without filler strips hiding gaps.
Installation, handover and warranties
We install the cabinetry and coordinate with your plumber and electrician on connection days. Our installation work carries a five-year warranty, and the materials and hardware carry their makers’ warranties as listed on our guarantee page: 10 years on Melteca and Laminex, lifetime on Blum and Hettich hardware. In a scullery, where hinges and runners work harder than anywhere else in the house, that hardware warranty earns its place.
If you’re planning a full kitchen with a scullery behind it, have a look at the kitchens and sculleries we draw and build for Auckland homes before we visit, so you can point at the details you like.
Getting It Right the First Time
A scullery is the most useful room most kitchens never had. Built properly, it takes the mess, the steam and the noise out of your living space and lets the main kitchen look the way you designed it to. Built badly, it’s a damp cupboard with a sink in it. We’ve seen both.
The difference is almost all in the order you make decisions. Settle the plumbing, extraction and consent questions first, and specify wet-zone materials wherever water lands.
Then pick the appliances before a single panel is cut. Decide how the room closes off last, standing where your guests will sit. Get that order right and the rest is detail, which happens to be the part we enjoy most.
➡ Book your free in-home design consultation with Little Giant Interiors
➡ See our 6-step design and build process
➡ Learn more about our custom kitchens in Auckland
Scullery Questions We Get Asked
What is a scullery in New Zealand?
A scullery is a working back kitchen next to the main kitchen, used for the messy jobs: washing dishes, prep, small appliances and storage. In New Zealand homes it usually has its own sink and often a dishwasher, and it's closed off with a door, a cavity slider or pocket doors built into the cabinetry. Because it has running water and a waste pipe, it needs moisture-resistant cabinetry and a plan for ventilation, the same way a main kitchen does.
What is the difference between a scullery and a butler's pantry?
The two names are often used interchangeably in New Zealand. The practical difference is water. If the room has a sink and a waste pipe, and usually a dishwasher, it works as a scullery and needs plumbing, wet-zone materials and a plan for moisture. If it's shelves, a bench and power points, it's a butler's pantry or walk-in pantry. A pantry is storage; a scullery is a second working kitchen.
Does a scullery need a building consent in Auckland?
It depends on the work. Building Act Schedule 1 clause 35 exempts alterations to existing sanitary plumbing only where the number of sanitary fixtures doesn't increase, and a second sink is a sanitary fixture, so that plumbing falls outside the clause. Auckland Council can consider an exemption for minor or low-risk work. Confirm your specific job with Auckland Council or your Licensed Building Practitioner before the cabinetry is drawn.
Does a scullery need ventilation?
Plan for it. Building Code clause G4.3.3 requires buildings to have a means of collecting or removing cooking fumes and odours, and moisture from utensil washing, from the spaces where they're generated. A scullery with a sink and dishwasher generates exactly that moisture. Extraction or an opening window should be designed for the scullery itself, and the duct route agreed before the cabinetry is made.
Can I use melamine for a scullery benchtop?
Not around the sink. Laminex's Melteca Technical Data Sheet says not to use Melteca in constant wear situations such as sink bench tops, and that the Melteca substrate must not come into contact with liquid. Melteca suits scullery carcasses, shelves and doors. The bench around the sink should be engineered stone, solid surface, compact laminate or stainless steel.
How big does a scullery need to be?
Smaller than most people think. A single-wall scullery can be one run of bench with shelves above, behind pocket doors. What matters is a bench at least 600mm deep so you can work at it, and around a metre of walkway between opposite runs so you can open a drawer or the dishwasher and still stand beside it. Put the sink, dishwasher and bin side by side.
How do you hide a scullery entrance?
The three common ways are pocket doors that slide back into the cabinetry, a cabinet door that opens inwards into the scullery, and a cavity slider in the wall. Blum's REVEGO pocket system publishes its dimensions for New Zealand: a pair of doors needs 900mm to 1,500mm of installation width plus a 150mm pocket each side. Matching the main kitchen's fronts across the opening makes it read as joinery.
How much does a scullery cost in Auckland?
It depends on size, hardware and finishes. Our published Auckland ranges for kitchen cabinetry supply and installation, excluding benchtops and appliances, are $15,000–$24,000 for mid-range custom, $25,000–$35,000 for upper mid to premium and $35,000–$55,000+ for high-end bespoke work. Plumbing, extraction, electrical work and any consent costs are extra. Our kitchen cabinetry calculator gives a quick range for your layout.
Can a scullery go in the laundry?
Yes, and it's often the easiest place in an existing Auckland home, because the laundry already has plumbing and drainage. Keep a clear split, with the laundry machines and tub at one end and the scullery bench and dishwasher at the other, and use moisture-resistant carcasses and a proper wet-zone bench throughout. Check the plumbing changes with your plumber and Auckland Council before the design is fixed.
Who can do the plumbing in a scullery?
An authorised plumber, and an authorised drainlayer for any drain changes. The Building Act's plumbing exemptions sit under a heading requiring the work to be carried out by a person authorised under the Plumbers, Gasfitters, and Drainlayers Act 2006. You can check a plumber's registration, licence and disciplinary history on the Plumbers, Gasfitters, and Drainlayers Board's public register before work starts.
Have you been putting off your kitchen renovation?
We offer flexible finance options to help you get your dream kitchen sooner. Learn more about our interest-free finance options.
References
- New Zealand Legislation — Building Regulations 1992, Schedule 1 (The Building Code): definitions, clause G3 Food preparation and clause G4 Ventilation
- New Zealand Legislation — Building Act 2004, Schedule 1: Building work for which building consent not required (clause 35 and Part 2)
- Auckland Council — Consent exemptions
- Plumbers, Gasfitters and Drainlayers Board — Search the register
- Laminex New Zealand — Melteca Technical Data Sheet, issued November 2022
- Blum New Zealand — REVEGO pocket system, product range and technical data
- Blum New Zealand — Cabinet doors as entrances
- Blum New Zealand — Sink cabinet
- Fisher & Paykel — DishDrawer integrated panel preparation, NZ AU GB IE (DS605I and DD605I models)
- Häfele New Zealand — Butler’s Pantry or Scullery?